VERO-WIRE
|
|
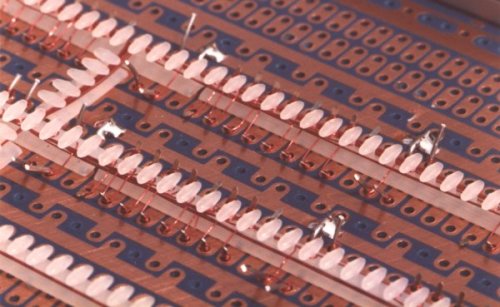
The white combs are an essential part of the process and must be used. It has been found best to stick them to the board with Instant Adhesive. The two tracks which run the length of the circuit board are used for the power supply and earth. There are many places to put decoupling capacitors. Some additional components are included, a leg of one (capacitor) is soldered to the board. No soldering is done - other than to power supply rails - until all the wiring is completed. Incorrect wiring usually shows up during wiring. As the enamel is still there at this stage no 'ringing through' or checking with a meter is possible. Incorrect wiring is very easy to remove or modify at this stage. Prior to doing this work a wiring flow chart, which is created from the circuit diagram, is written out. During the wiring process this chart is used which greatly assists the speed and accuracy of the process. It is possible to completely wire the board in one operation, removing unwanted links afterwards. However, failing to remove all the unwanted links can be a source of frustration when the circuit does not function as expected, so care with this is required. |